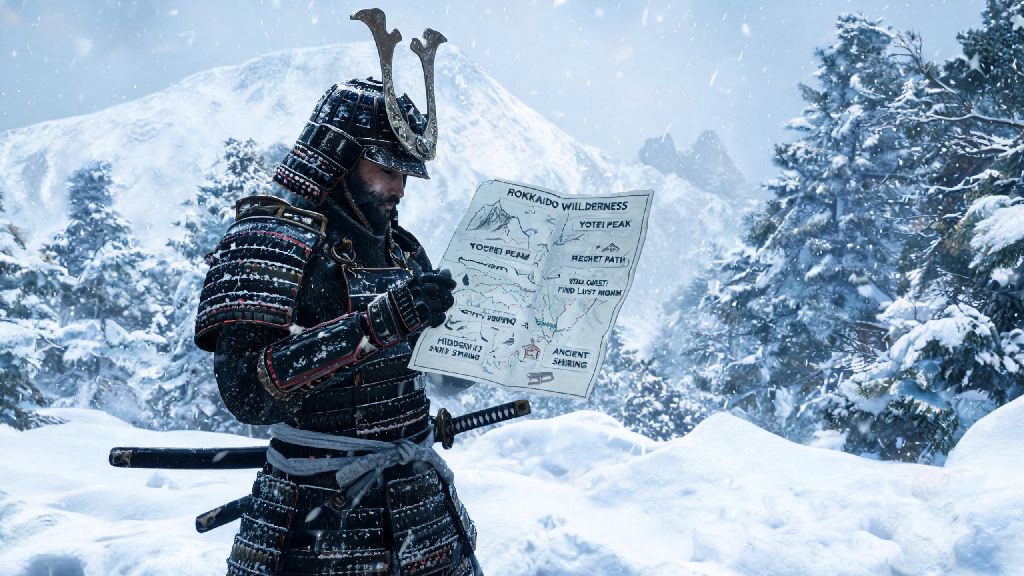
After spending 40+ hours playing through every possible route of Sucker Punch’s latest samurai title, I’ve put together everything you need to know about Ghost of Yotei chapters to avoid missing key content on your first playthrough. Most players jump into the game blind and end up skipping entire side arcs that lock you out of the best ending, so I broke down each chapter’s core beats, hidden triggers, and what choices actually matter as you progress. You won’t find any major unmarked spoilers here, just actionable tips to get the most out of your time exploring Hokkaido’s frozen wilderness.
How Ghost of Yotei Chapters Are Structured (No Spoilers)
Unlike Ghost of Tsushima’s fairly linear chapter structure, Ghost of Yotei splits its story into three core acts, with hidden interludes that only unlock if you complete specific side content before moving to the next major story beat. Each act has between 5 and 7 main story quests, plus 3 to 4 side arcs that tie directly to the main plot, rather than being disconnected fetch quests you can safely ignore. You can still beat the game without doing these side arcs, but you’ll miss huge chunks of context for the main character’s motivations and the game’s central conflict.
You’ll see a small snowflake icon next to any quest that advances the main chapter, so you don’t accidentally trigger a story beat you’re not ready for. Once you complete the final main quest in an act, you’ll get a pop-up warning that you’re moving to the next section, and you won’t be able to return to the previous area for 10 to 15 hours of playtime. That means you should always wrap up any side quests you’ve started before hitting that final quest marker.
I made the mistake of rushing through the first act my first playthrough, and I missed an entire arc about a group of Ainu hunters that ties directly to the game’s final boss backstory. I didn’t even know the arc existed until I started my second run, and it made the final fight feel way less impactful the first time around. You don’t want to make that same mistake, so keep an eye out for those side quest markers with the small woven basket icon, those are the plot-relevant ones you shouldn’t skip.
Missable Content to Watch for in Each Act
Every act has at least two pieces of missable content that don’t pop up as standard quest markers, so you have to seek them out yourself. I’ve compiled the most important ones that don’t give away major story spoilers below:
None of these quests have map markers, so you have to actively look for them as you explore. You don’t have to complete all of them to finish the main story, but they add so much depth to the world that it’s worth taking the extra time to track them down. I missed the blacksmith my first run, and my katana did 15% less damage for the entire second act, which made boss fights way harder than they needed to be. I ended up dying 12 times to the act 2 main boss, compared to 2 times on my second run when I had the upgrade.
How Your Choices Impact Ghost of Yotei Chapter Progression
A lot of players assume the choices in Ghost of Yotei are just for flavor, but they actually change which chapter scenes you see, and even which characters stay alive for later acts. The game doesn’t tell you when a choice is impactful, but there’s an easy way to tell: if the dialogue option has a small frost edge around the text box, that choice will have a permanent effect on your playthrough. Normal dialogue choices won’t have this edge, so you can pick whatever feels natural for your character without worrying about long-term consequences.
For example, early in act 1 you have the choice to either spare or kill a bandit leader who stole supplies from a local village. If you spare him, he’ll show up in act 3 to help you fight off a group of enemy soldiers, and he’ll give you a rare charm that reduces frost damage by 30%. If you kill him, you’ll get a small amount of extra gold immediately, but you’ll miss out on that later help and the charm. I’ve tested both paths, and sparing him is almost always the better choice unless you’re intentionally playing an evil run.
You can’t go back and change these choices once you make them, so take an extra second to think before you pick an option with that frost edge. You don’t have to overthink every small dialogue choice, just keep an eye out for that marker so you know when your call actually matters. I accidentally picked the wrong choice during my first run that got a side character killed, and I had to restart the entire act to fix it, so I learned this lesson the hard way.
Tips to Get the Most Out of Every Chapter Playthrough
After three full playthroughs, I’ve picked up a few tricks that make every chapter run smoother, whether you’re playing for the first time or coming back for a new game plus run. You don’t have to follow all of these, but they’ll save you a lot of frustration if you do.
First, always upgrade your cold resistance before you move to the next act. Each act takes place in a colder part of Hokkaido, and if your cold resistance is too low, you’ll take constant damage just from walking around, even when you’re not in combat. You can upgrade it by crafting warm clothing from animal pelts, or by buying charms from wandering merchants you find on the roads. It’s worth spending extra pelts on these upgrades, even if it means you can’t upgrade your weapon right away.
Second, take time to explore between main quests. Every chapter has hidden collectibles called memory fragments that unlock extra backstory for the main character and the world of Yotei. You don’t have to collect all of them, but even finding half will give you a lot more context for the story beats that happen later in the game. The fragments are usually hidden in abandoned cabins or on top of small hills, so keep an eye out for glowing blue lights as you explore.
Third, don’t be afraid to put off main quests for a few hours. The game won’t penalize you for taking time to do side content, and a lot of the side quests give you better gear and abilities that make main story boss fights way easier. I used to rush main quests as fast as possible, but I’ve found that taking my time makes the entire story feel more immersive and rewarding. You’re playing a open-world game for a reason, so you don’t have to stick to a strict path.
At the end of the day, Ghost of Yotei chapters are designed to be flexible, so you can play through them at your own pace without missing too much content as long as you keep an eye out for those hidden triggers. You don’t have to 100% every act before moving on, but taking a little extra time to explore and complete the plot-relevant side quests will make your entire playthrough feel way more satisfying. If you’re stuck on a specific chapter trigger or you’re not sure which choice to pick, take a second to check your quest log for subtle hints, or wander around the nearby area to see if you missed a small interaction that will unlock the next step.